Before doing an extraction you need to look carefully at where the natural shadow falls. This will tell you where the light source was in the photo and therefore where you need to arrange the light source in the layout. Some times you can fudge this a little, but remember, if you want the shadows to look right through out the layout, they all need to have a common light source. Once you figure out where that light source is coming from, you can create shadows that feel more natural. The more you work the light source to match the original of the photo, the more realistic all the shadows become.
The following are for Photoshop:
OK, now do your extraction and add your shadow. Play with your settings here first. Increase or decrease size, distance and opacity until you are somewhat happy with the look. Then, go to your layer and Create Layer (right click and go toward the bottom of the menu to find this option). You will get a message warning that not all settings will follow the layer, just click OK. Now you can play with your shadow even more. Try Edit > Transform > Perspective and move your shadow to match your light source even further. Think, my light is coming from the upper left, so my shadow will go in a line to the lower right or which ever direction necessary. Add a Guassian blur (between 5 and 10 usually is plenty, but I've used higher). Reduce the opacity even further. Try each of these in succession and only keep the ones that match your light source and the other shadows on your LO.
The following are for Photoshop Elements:
After doing your extraction, make a new layer below your photo layer or mask layer. Select the extraction (if you have used a mask, you will need to select the mask layer) by CTRL (CMD) Clicking the layer thumbnail so that you have the marching ants around the extracted item. Do a fill color of 50% grey. Add a Guassian blur of between 6 and 10. Try your noise filter, it may add to the look and it may not. Now add some perspective, Image > Transform > Perspective so that the shadow goes in the direction needed. Try lowering the perspective if the color is still too dark.
Again, play! Keep what works and discard the steps that don't for each project as each time you do this something different works.
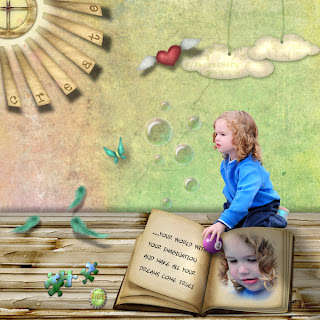
Here is an example of an extraction where I really played with the shadow. Look carefully as it's not behind the subject, it falls according to the light source and drapes across the book and the floor!

You need to put a link to this in Sunday Scrappers forum- I'm sure people would be interested:~)
ReplyDelete